 Home
Home
Powering on and using your IFP33
This article highlights the basics of powering on your IFP105S and getting started with the display.
Power your IFP105S ON/OFF
Follow these steps to starting using your ViewBoard:
- Before turning on your ViewBoard, ensure the power cord is connected, plugged into a power outlet, and the device's power switch is in the ON position.
- Press the Power button to turn the ViewBoard ON.
- To turn the ViewBoard OFF, press and hold the Power button.
 Location of power switch and power cord port on the IFP105.
Initial launch setup
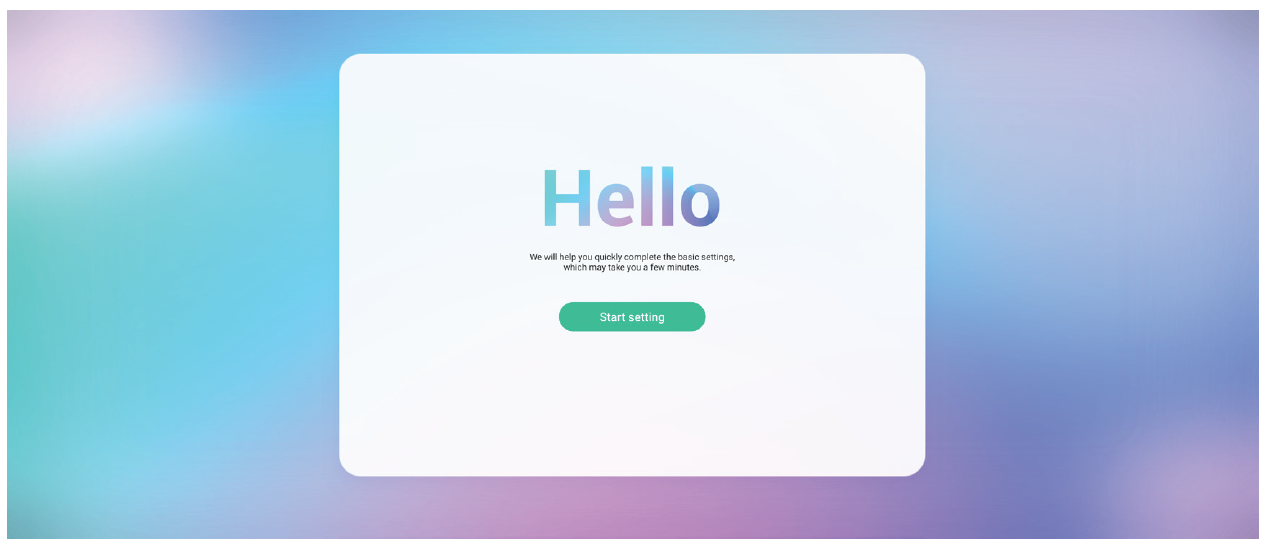
When you turn on your ViewBoard for the first time, an initial setup wizard will guide you through first-time device settings:
- Press Start setting to begin the setup wizard.
- Select your preferred language.
- Select your country or region.
- Setup and verify your ethernet (LAN) connection.
- Set the date and time by using network detected time or selecting a time zone.
- Review the privacy and copyright protection statement before continuing.
- Set your device name.
- Select Confirm now to complete the initial setup.
 Language selection prompt.
 Network connect setup.
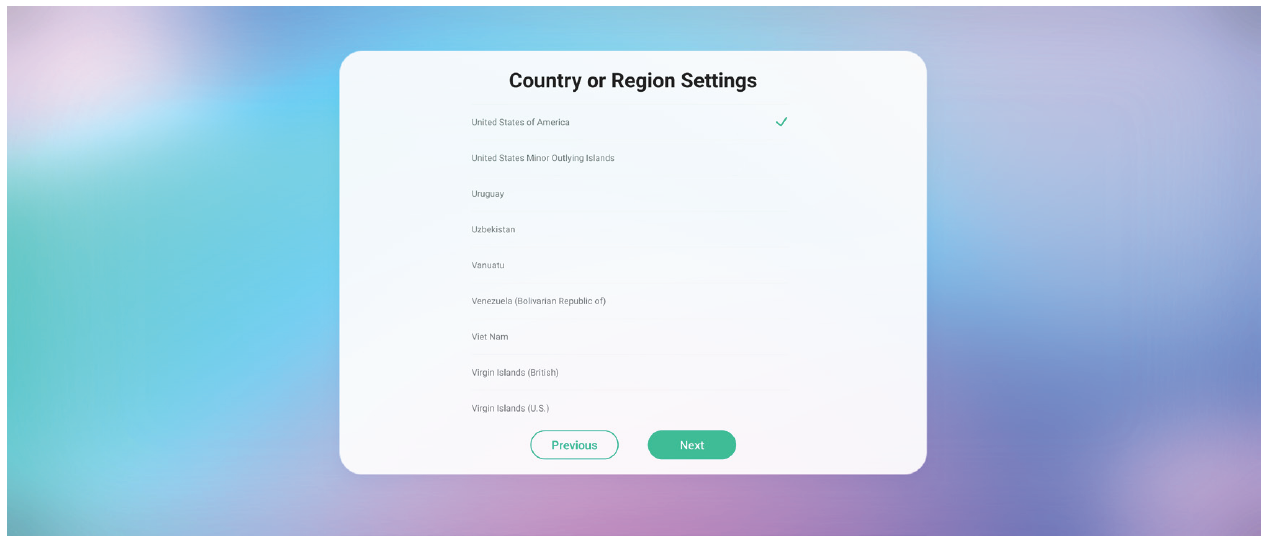 Date and time setup.
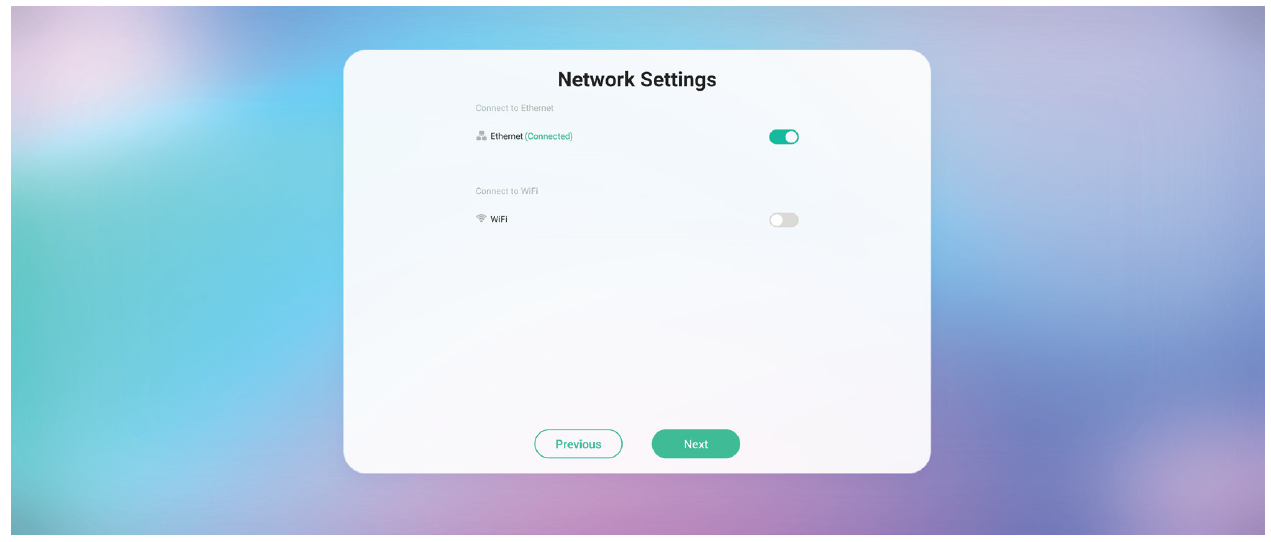 System mode selection.
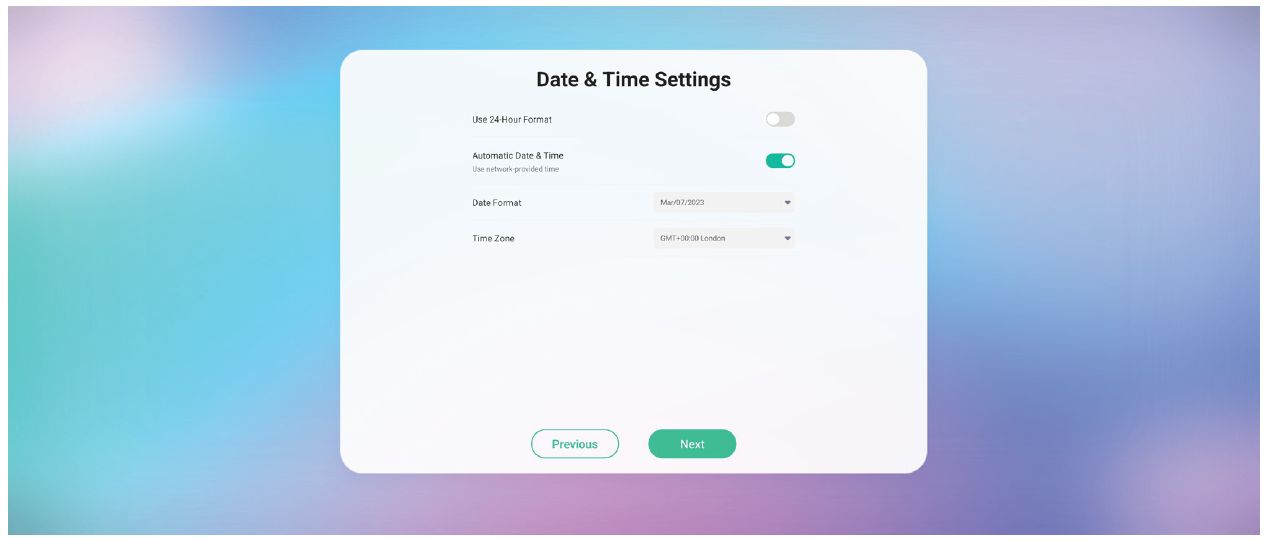 Power saving mode selection.
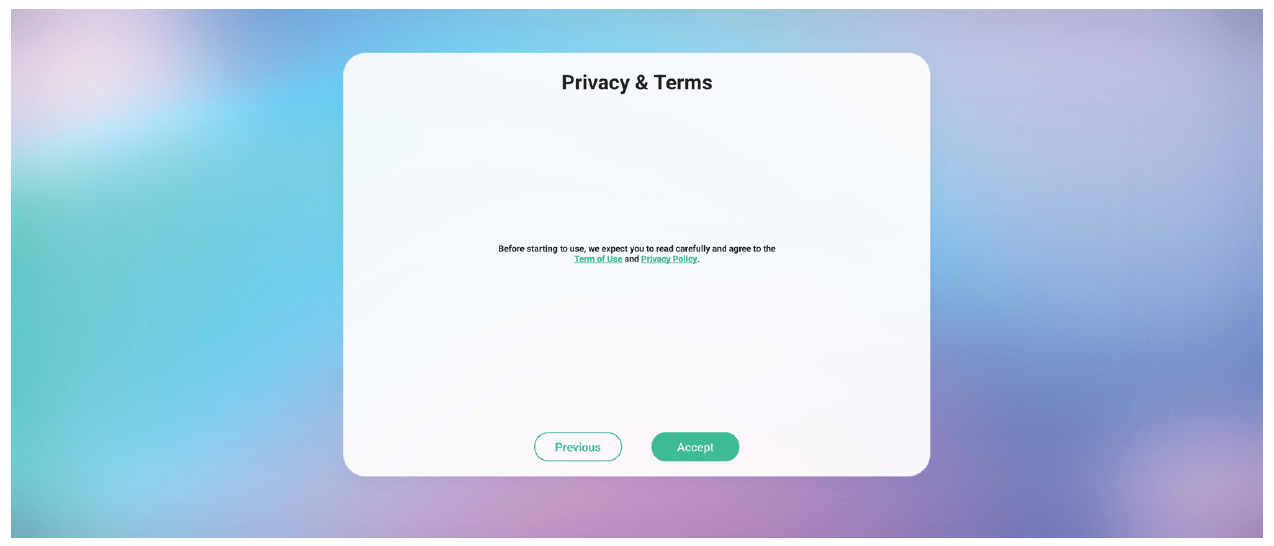 Privacy and copyright agreement.
 Privacy and copyright agreement.
 Privacy and copyright agreement.
How to sign in
Once your device turns back on, you'll encounter a sign-in screen:
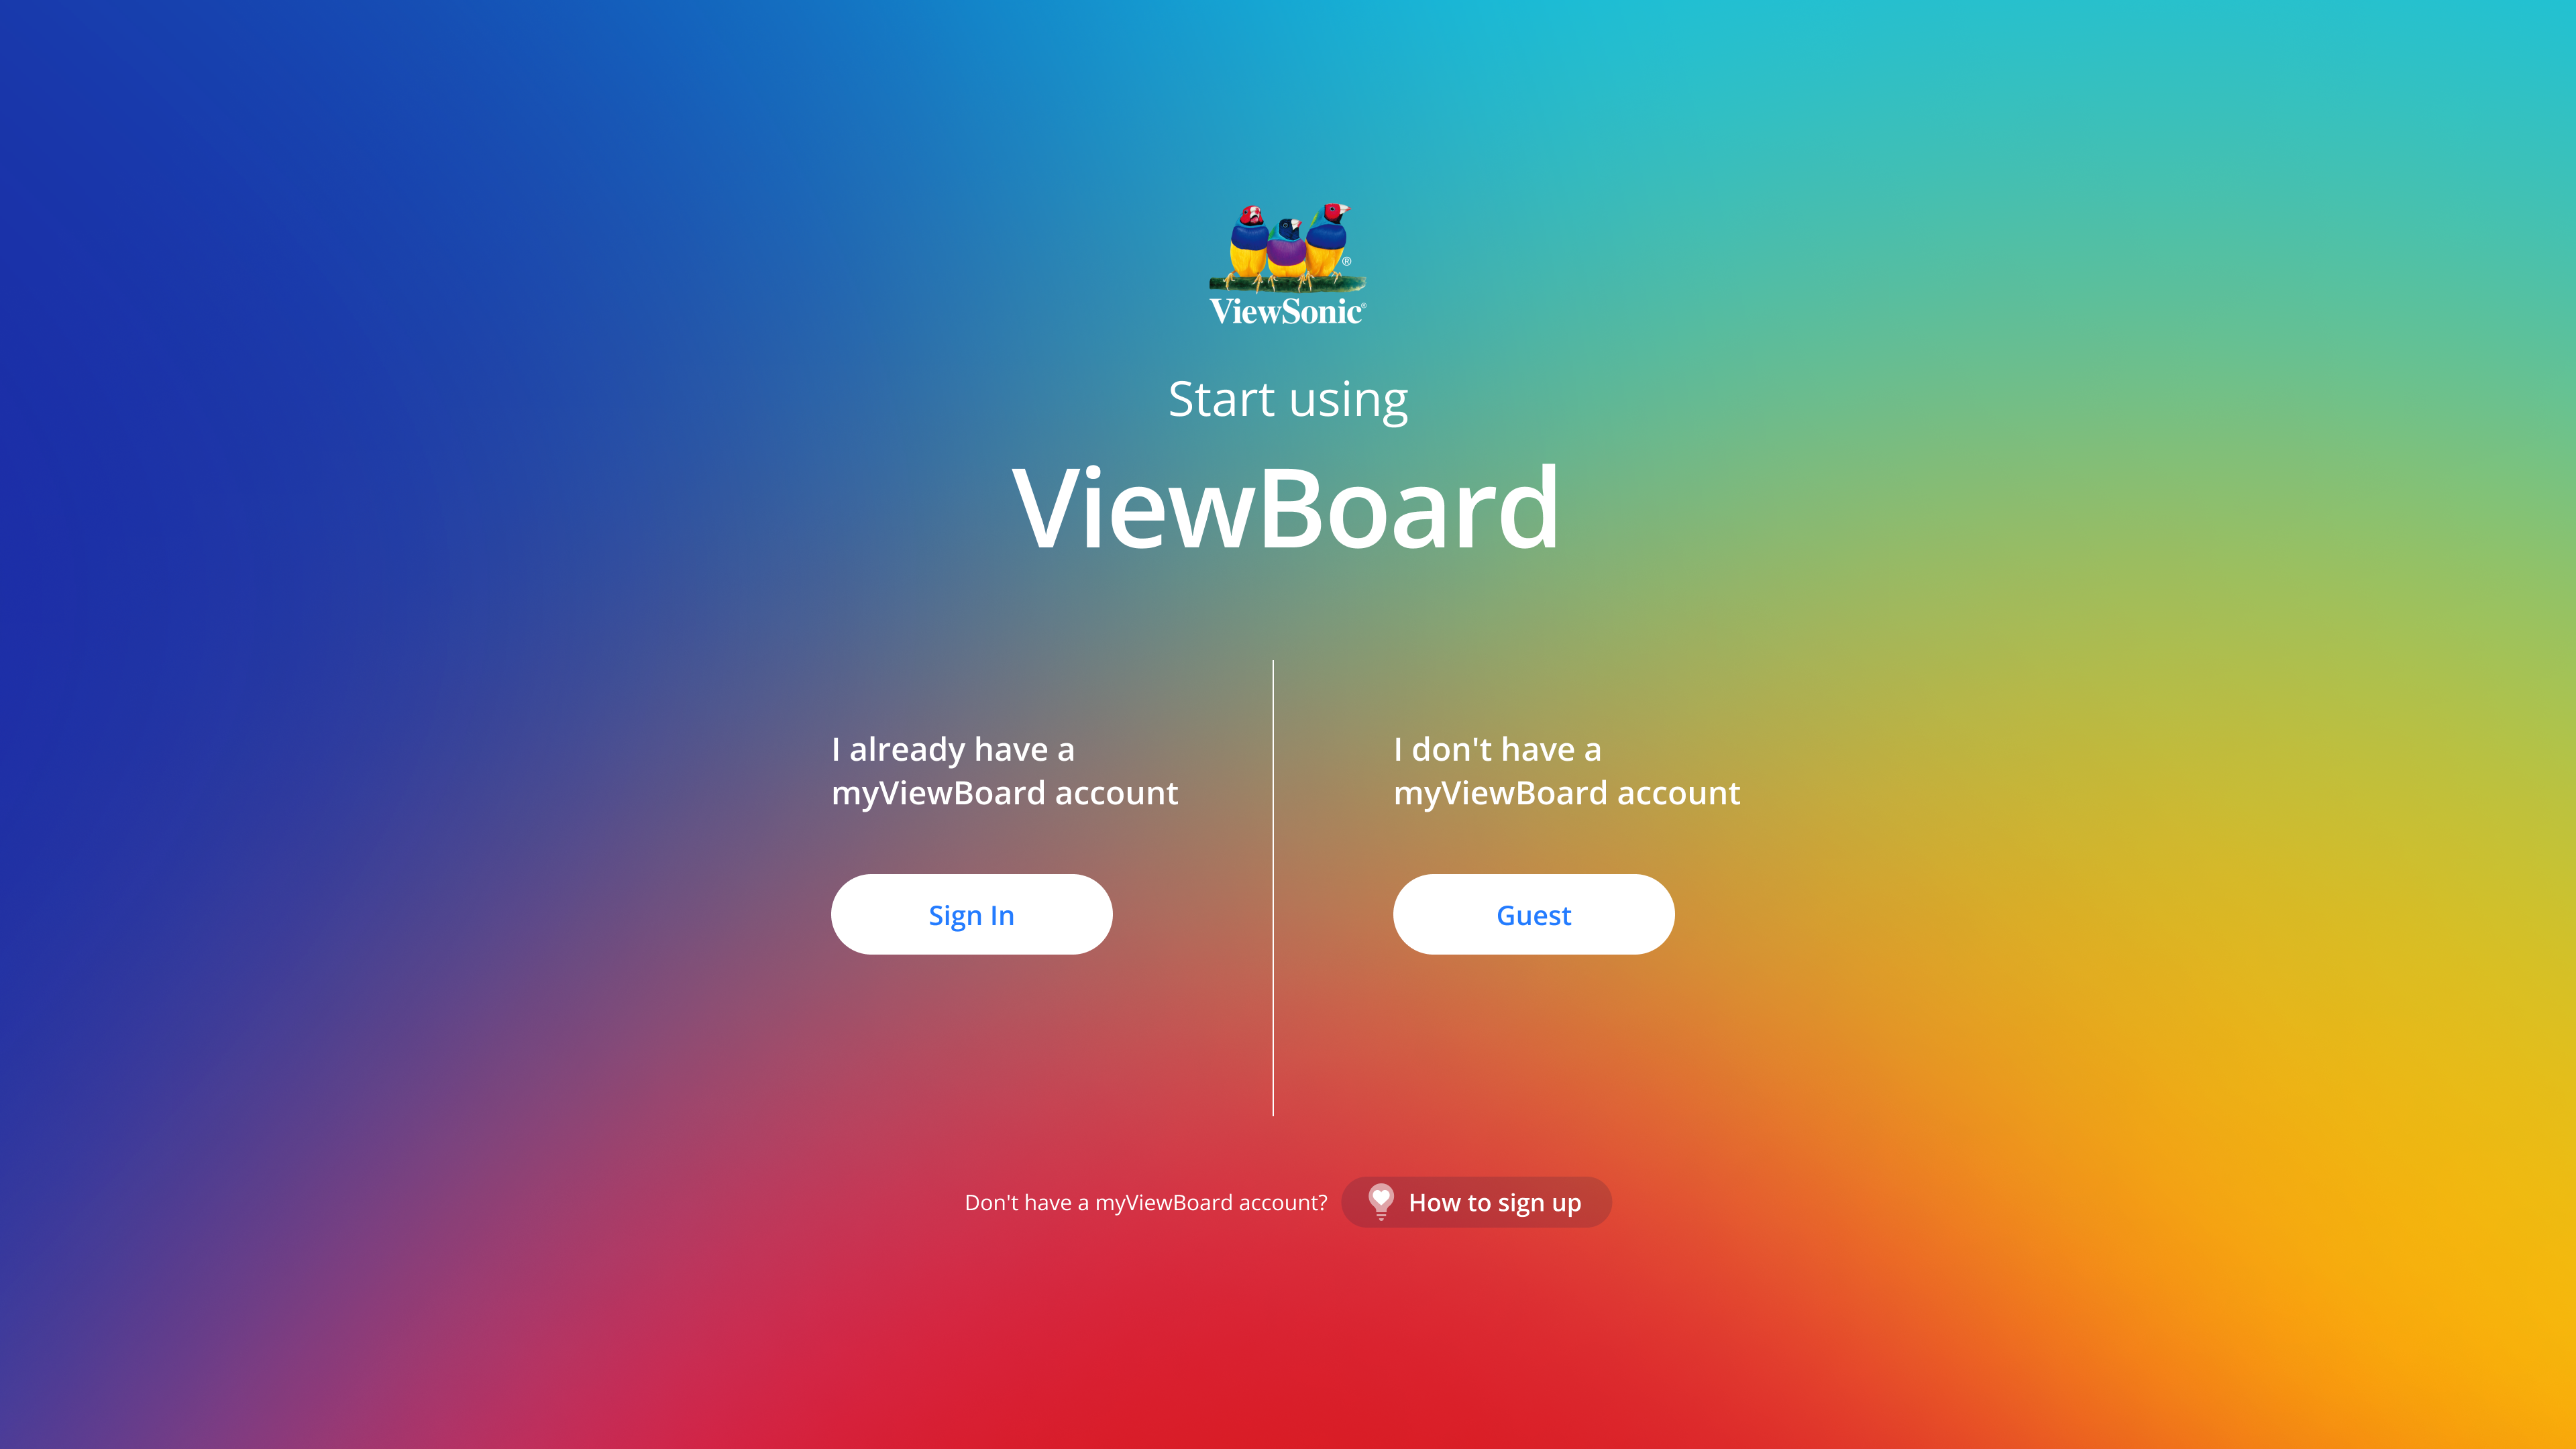 Sign-in screen with options to sign in with an account and to start using the ViewBoard as a guest.
To sign in, a myViewBoard or ViewSonic account is required. (Learn more about creating an account.)
If you already have a myViewBoard account, you can also sign in using the Companion app.
Otherwise, you'll have to use the Guest option to begin using the ViewBoard.
Home screen
The home screen is where you'll find quick access to your ViewBoard's applications and input source options.
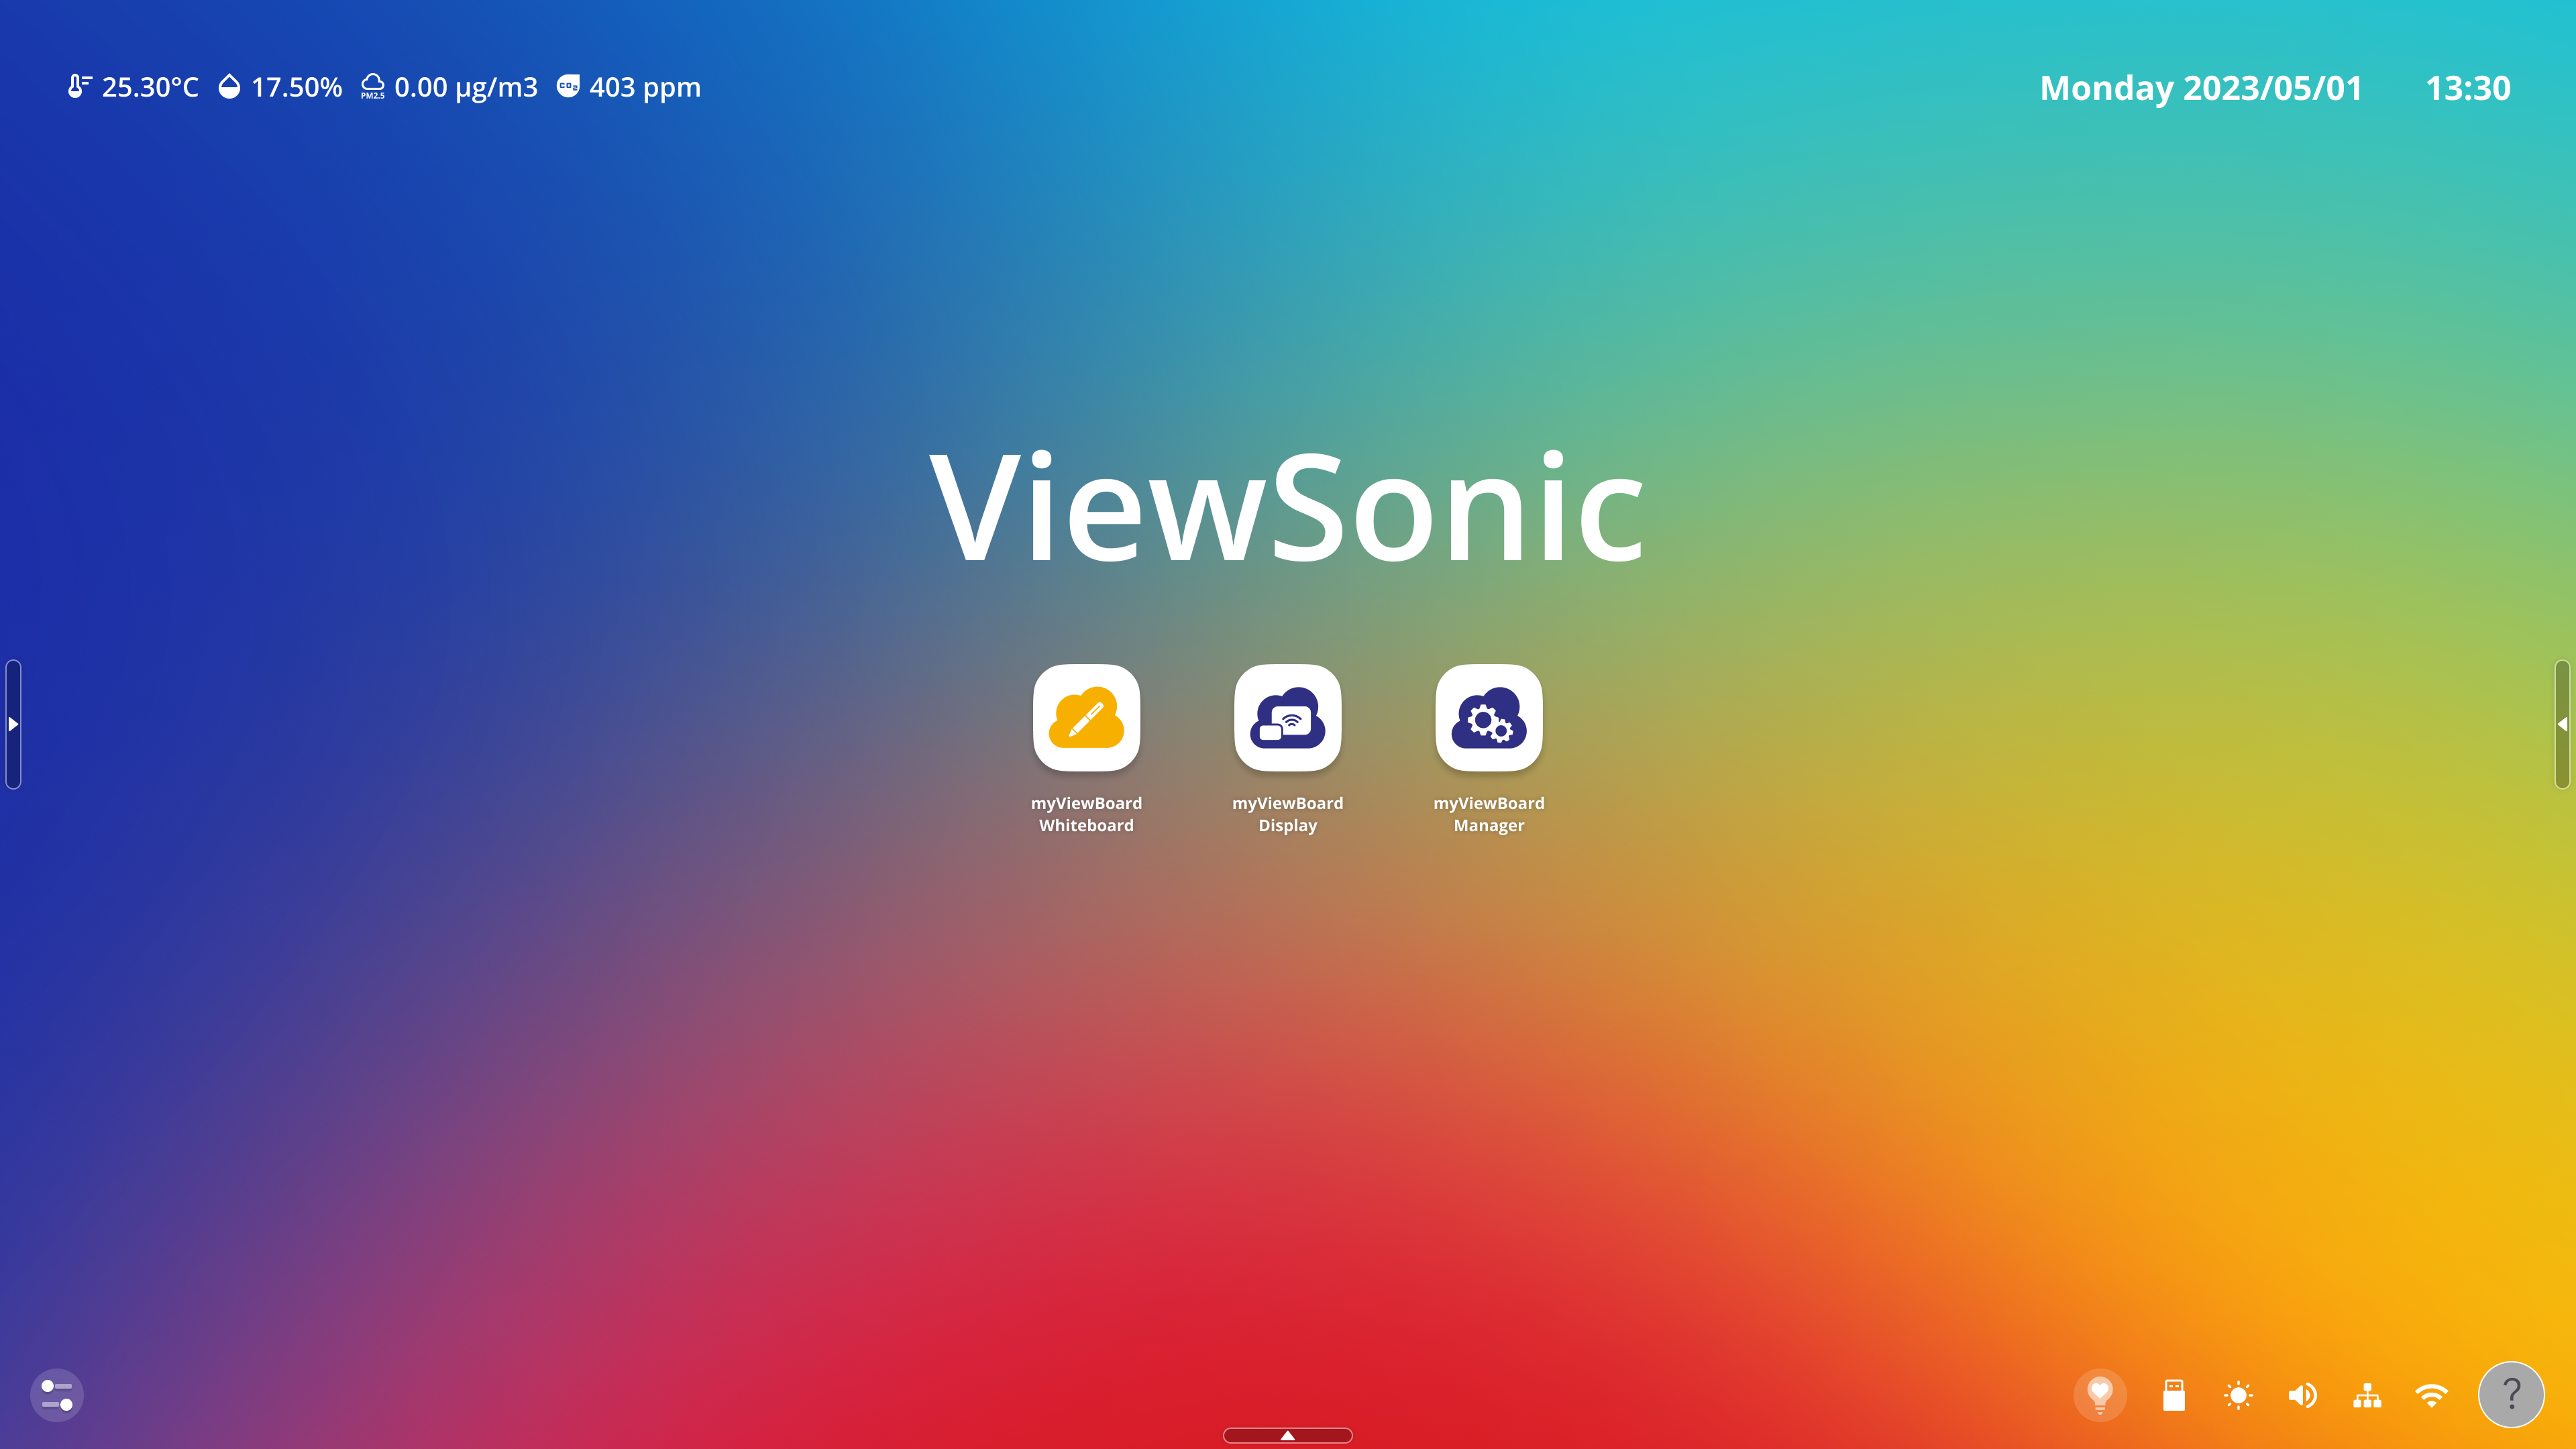 ViewBoard home screen.
How to edit the home screen apps
Find all installed applications in the home screen app tray.
- On the home screen, press-hold anywhere on the wallpaper.
- Press Edit Launcher in the home screen menu that appears.
- With the number of slots available, add all your desired apps by pressing the plus button
 on the icon.
- Alternatively, remove apps by pressing the minus button
 on the home screen apps.
- Alternatively, remove apps by pressing the minus button
- You can also press-hold and drag applications onto the home screen.
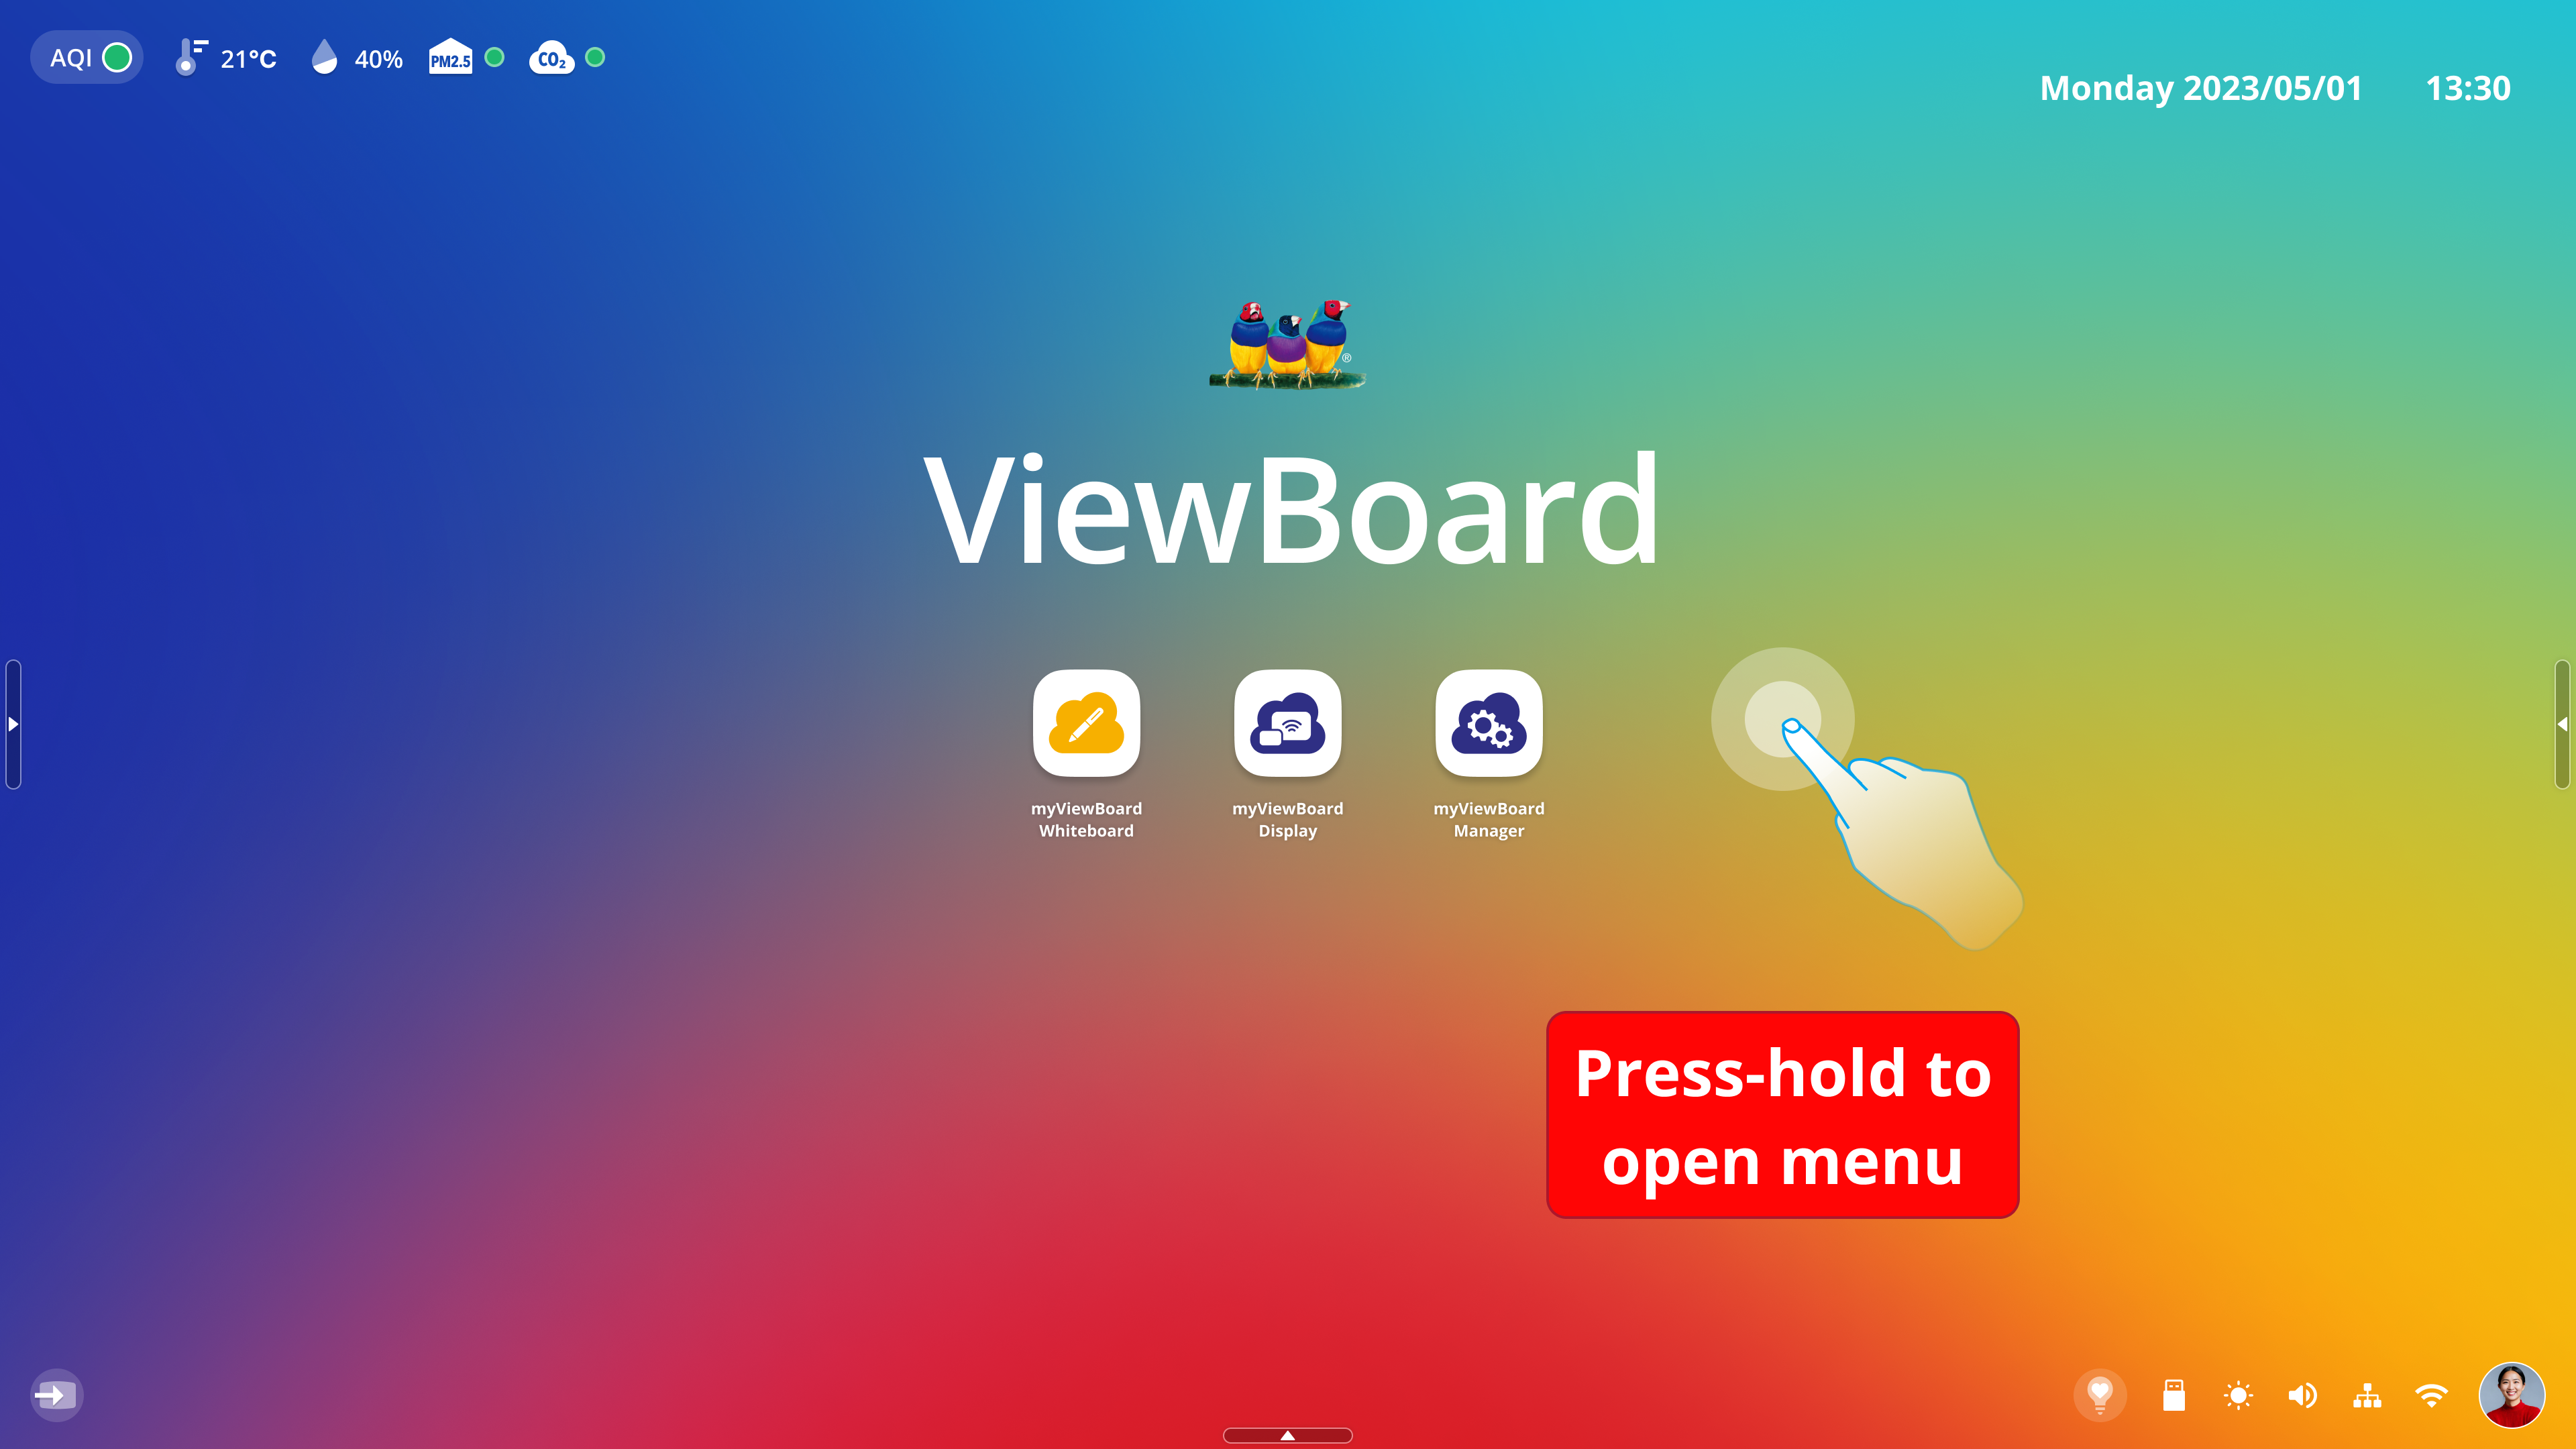 Example of user action required to open home screen menu.
 Edit Launcher button highlighted in home screen menu.
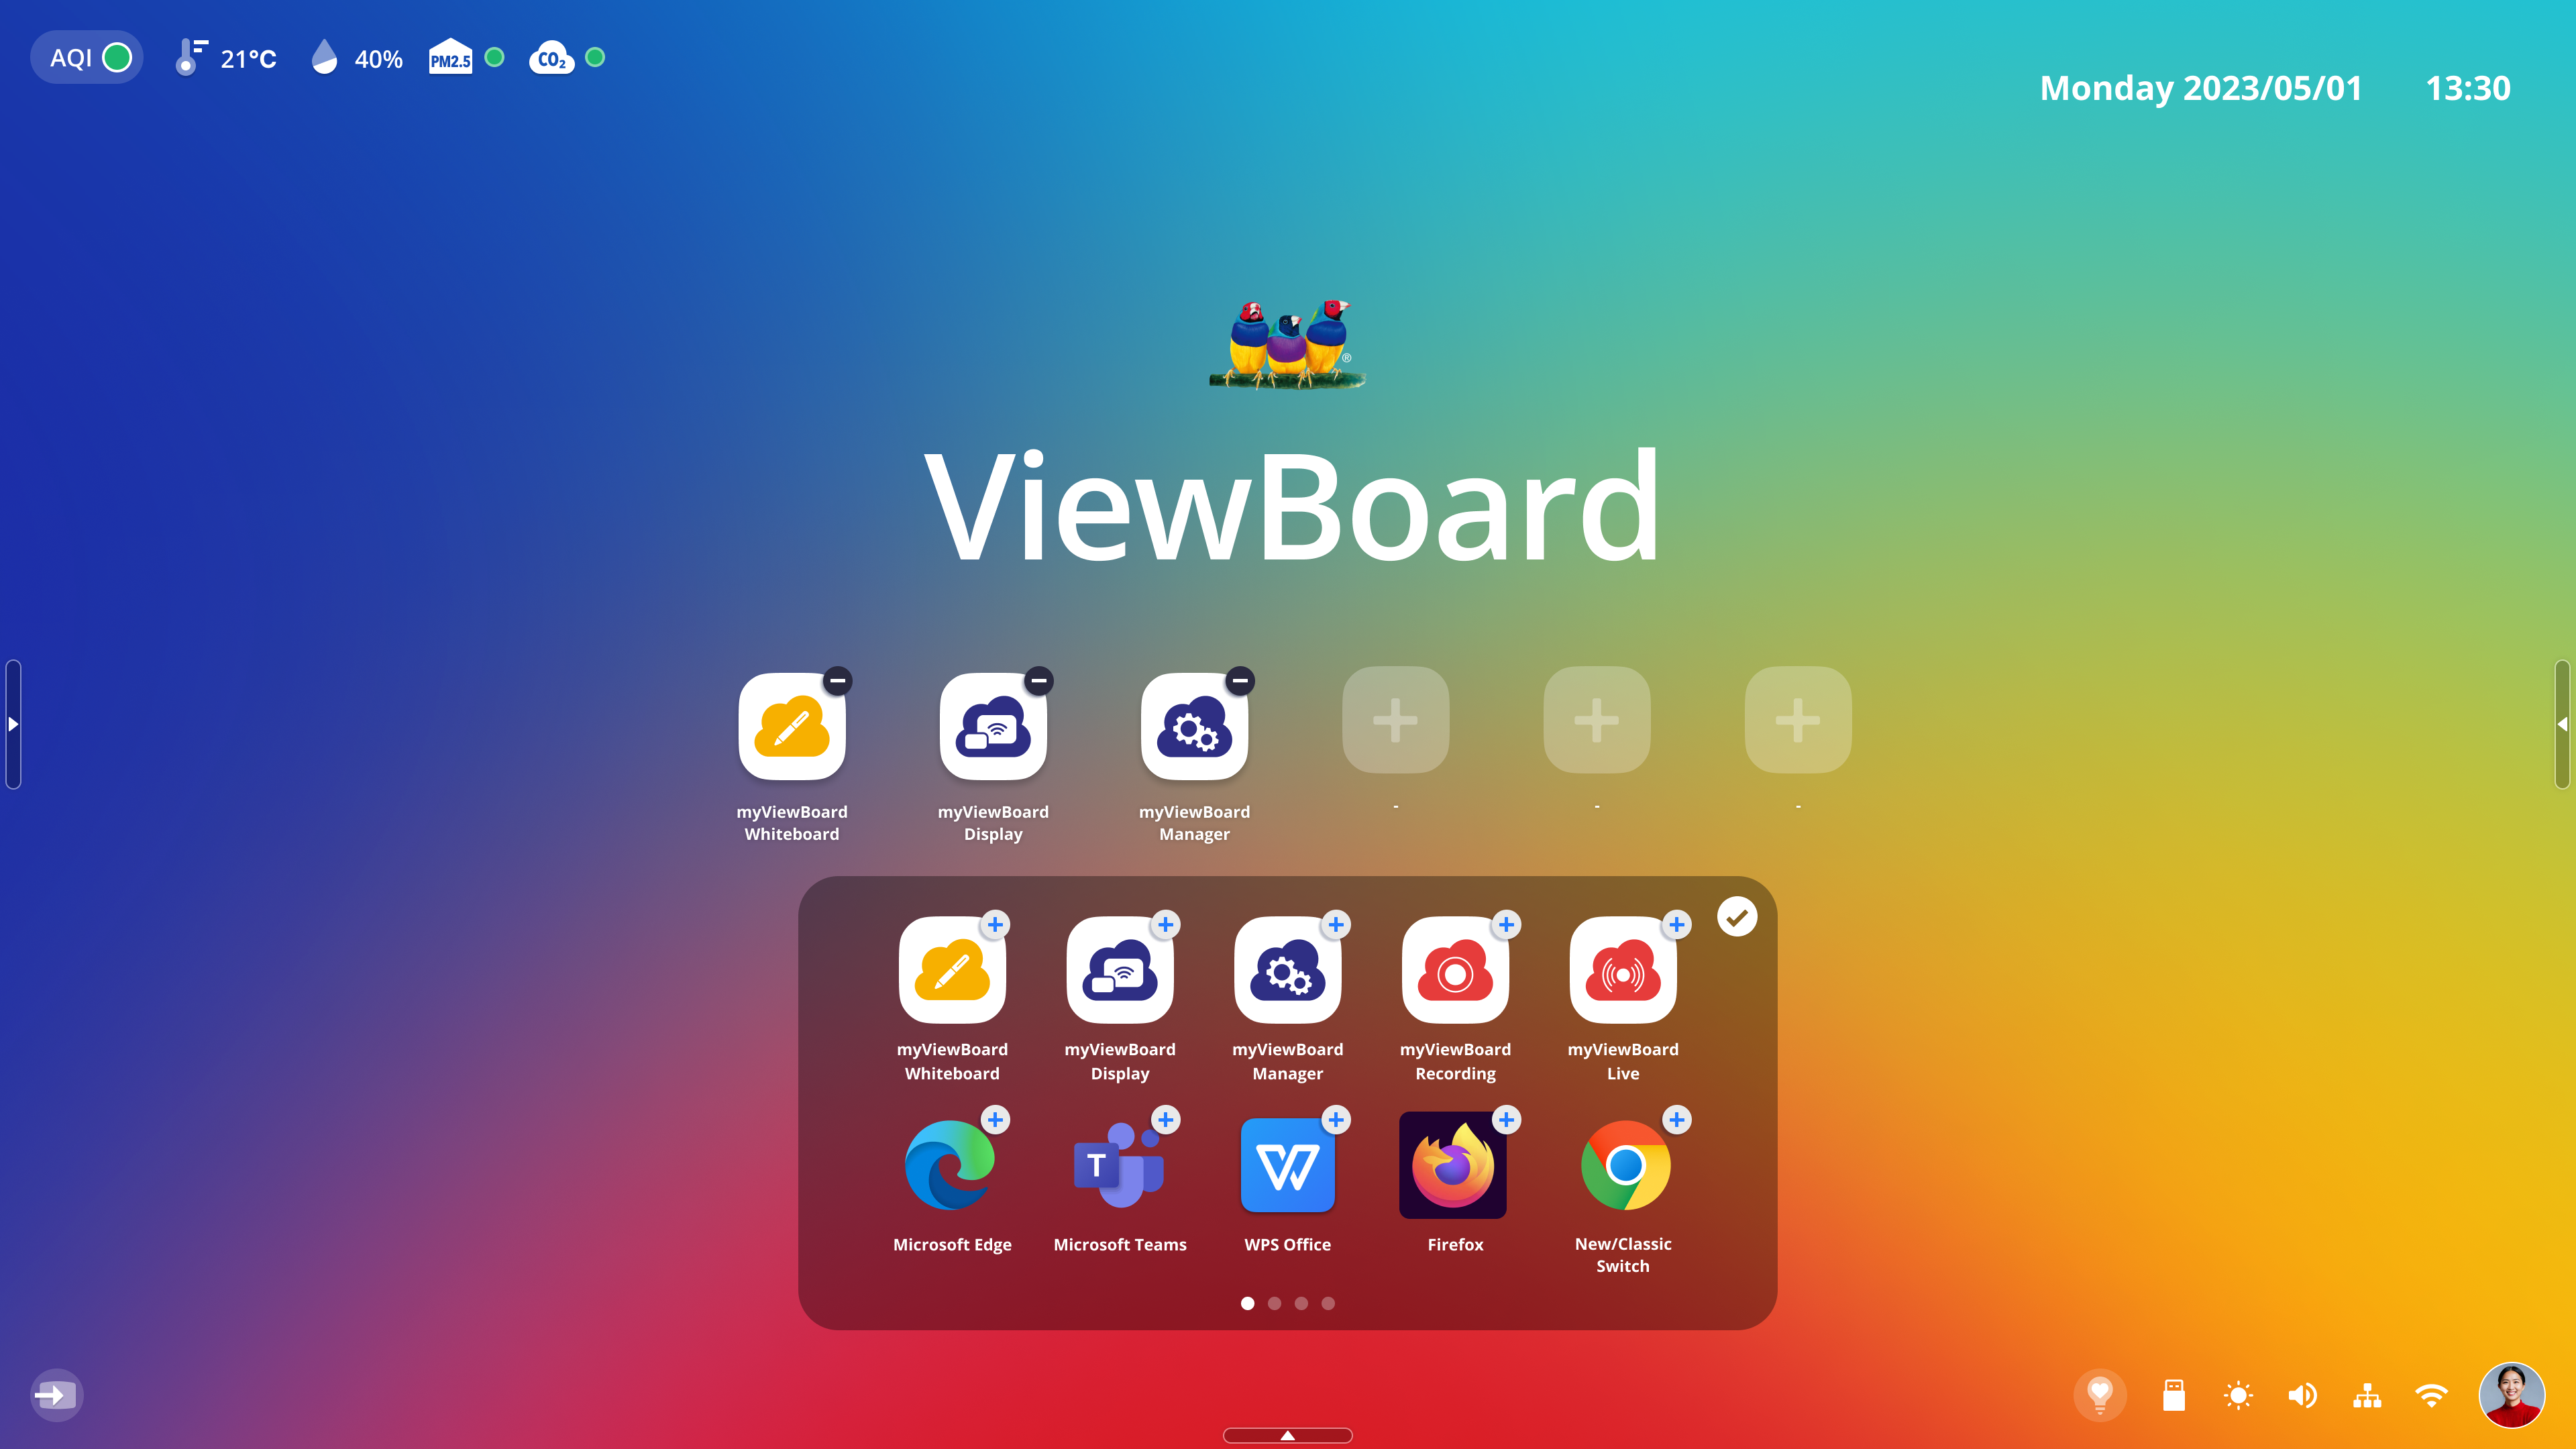 App tiles are now editable with three slots open to add other apps.
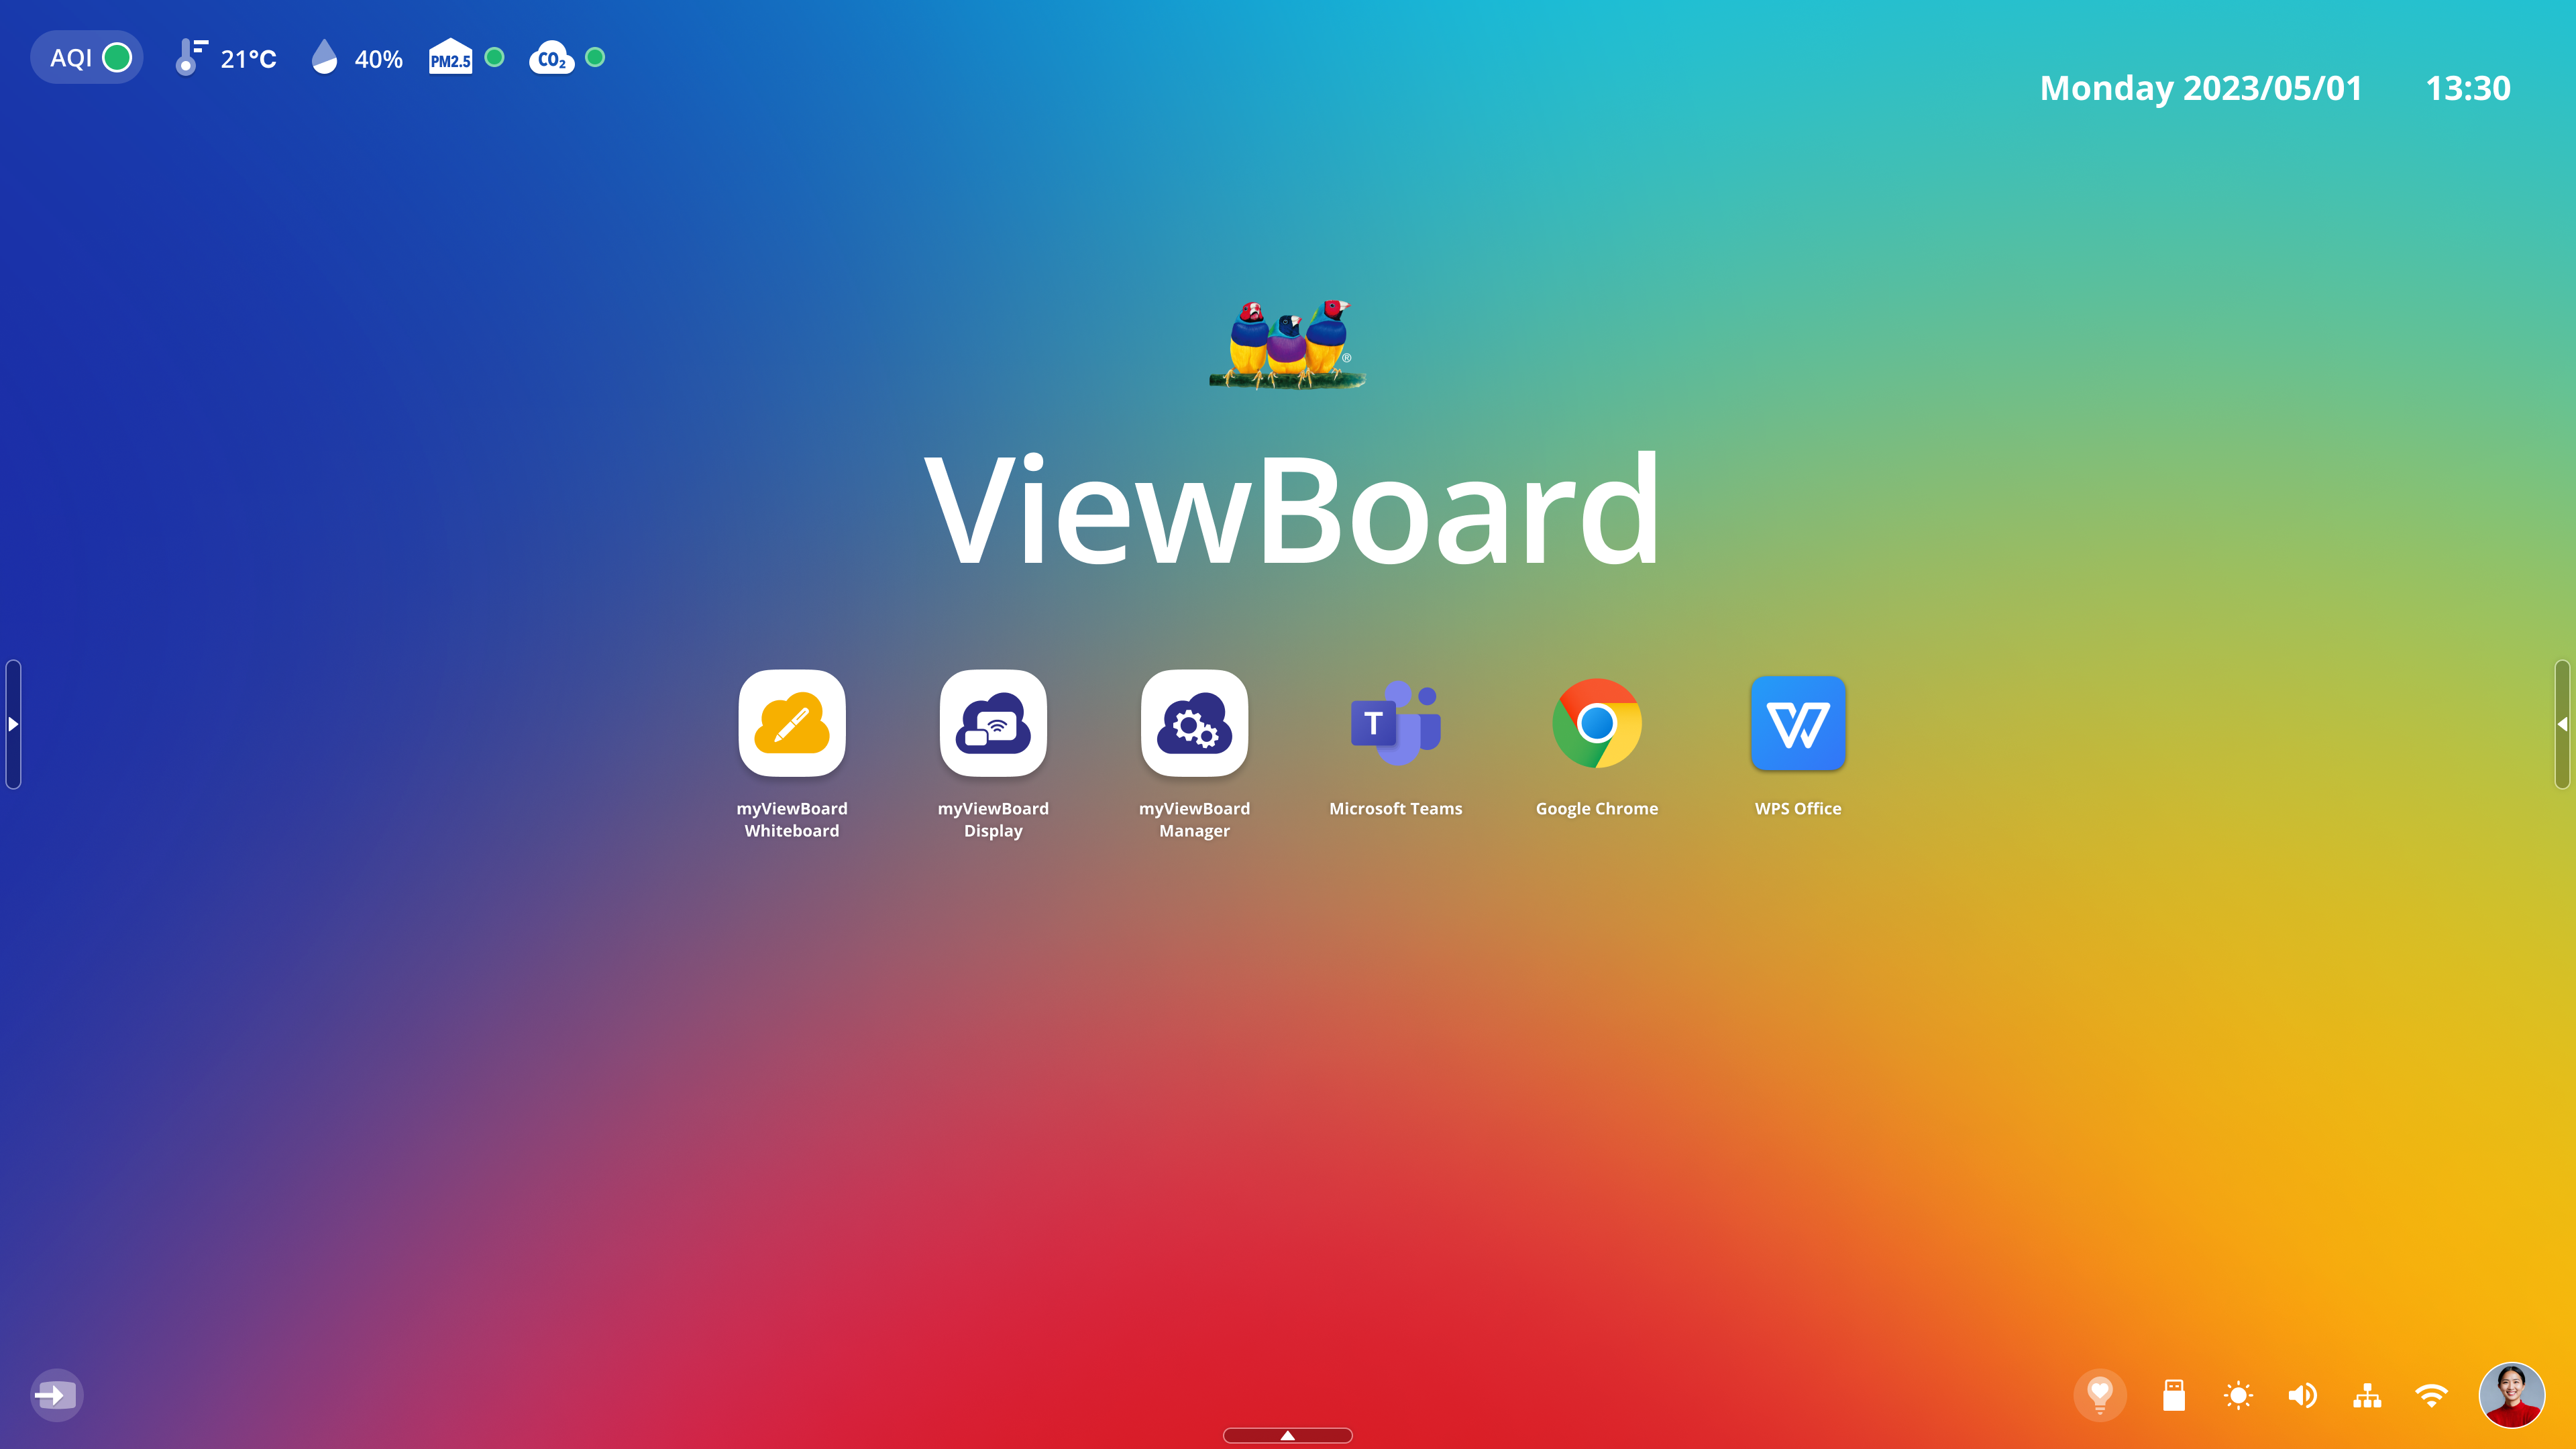 Result of user adding three apps to the home screen.
Learn more about pre-installed apps on your ViewBoard.
How to change the wallpaper
You can also change the home screen wallpaper from the home screen.
- On the home screen, press-hold anywhere on the wallpaper.
- Press Change Wallpaper in the home screen menu that appears.
- A number of preset wallpapers will appear. Select any of these or press the plus button to select an image from your local storage.
- Once you select a wallpaper, you'll see a preview of the wallpaper.
- When ready to apply the wallpaper, press Set Wallpaper.
Example of user action required to open home screen menu.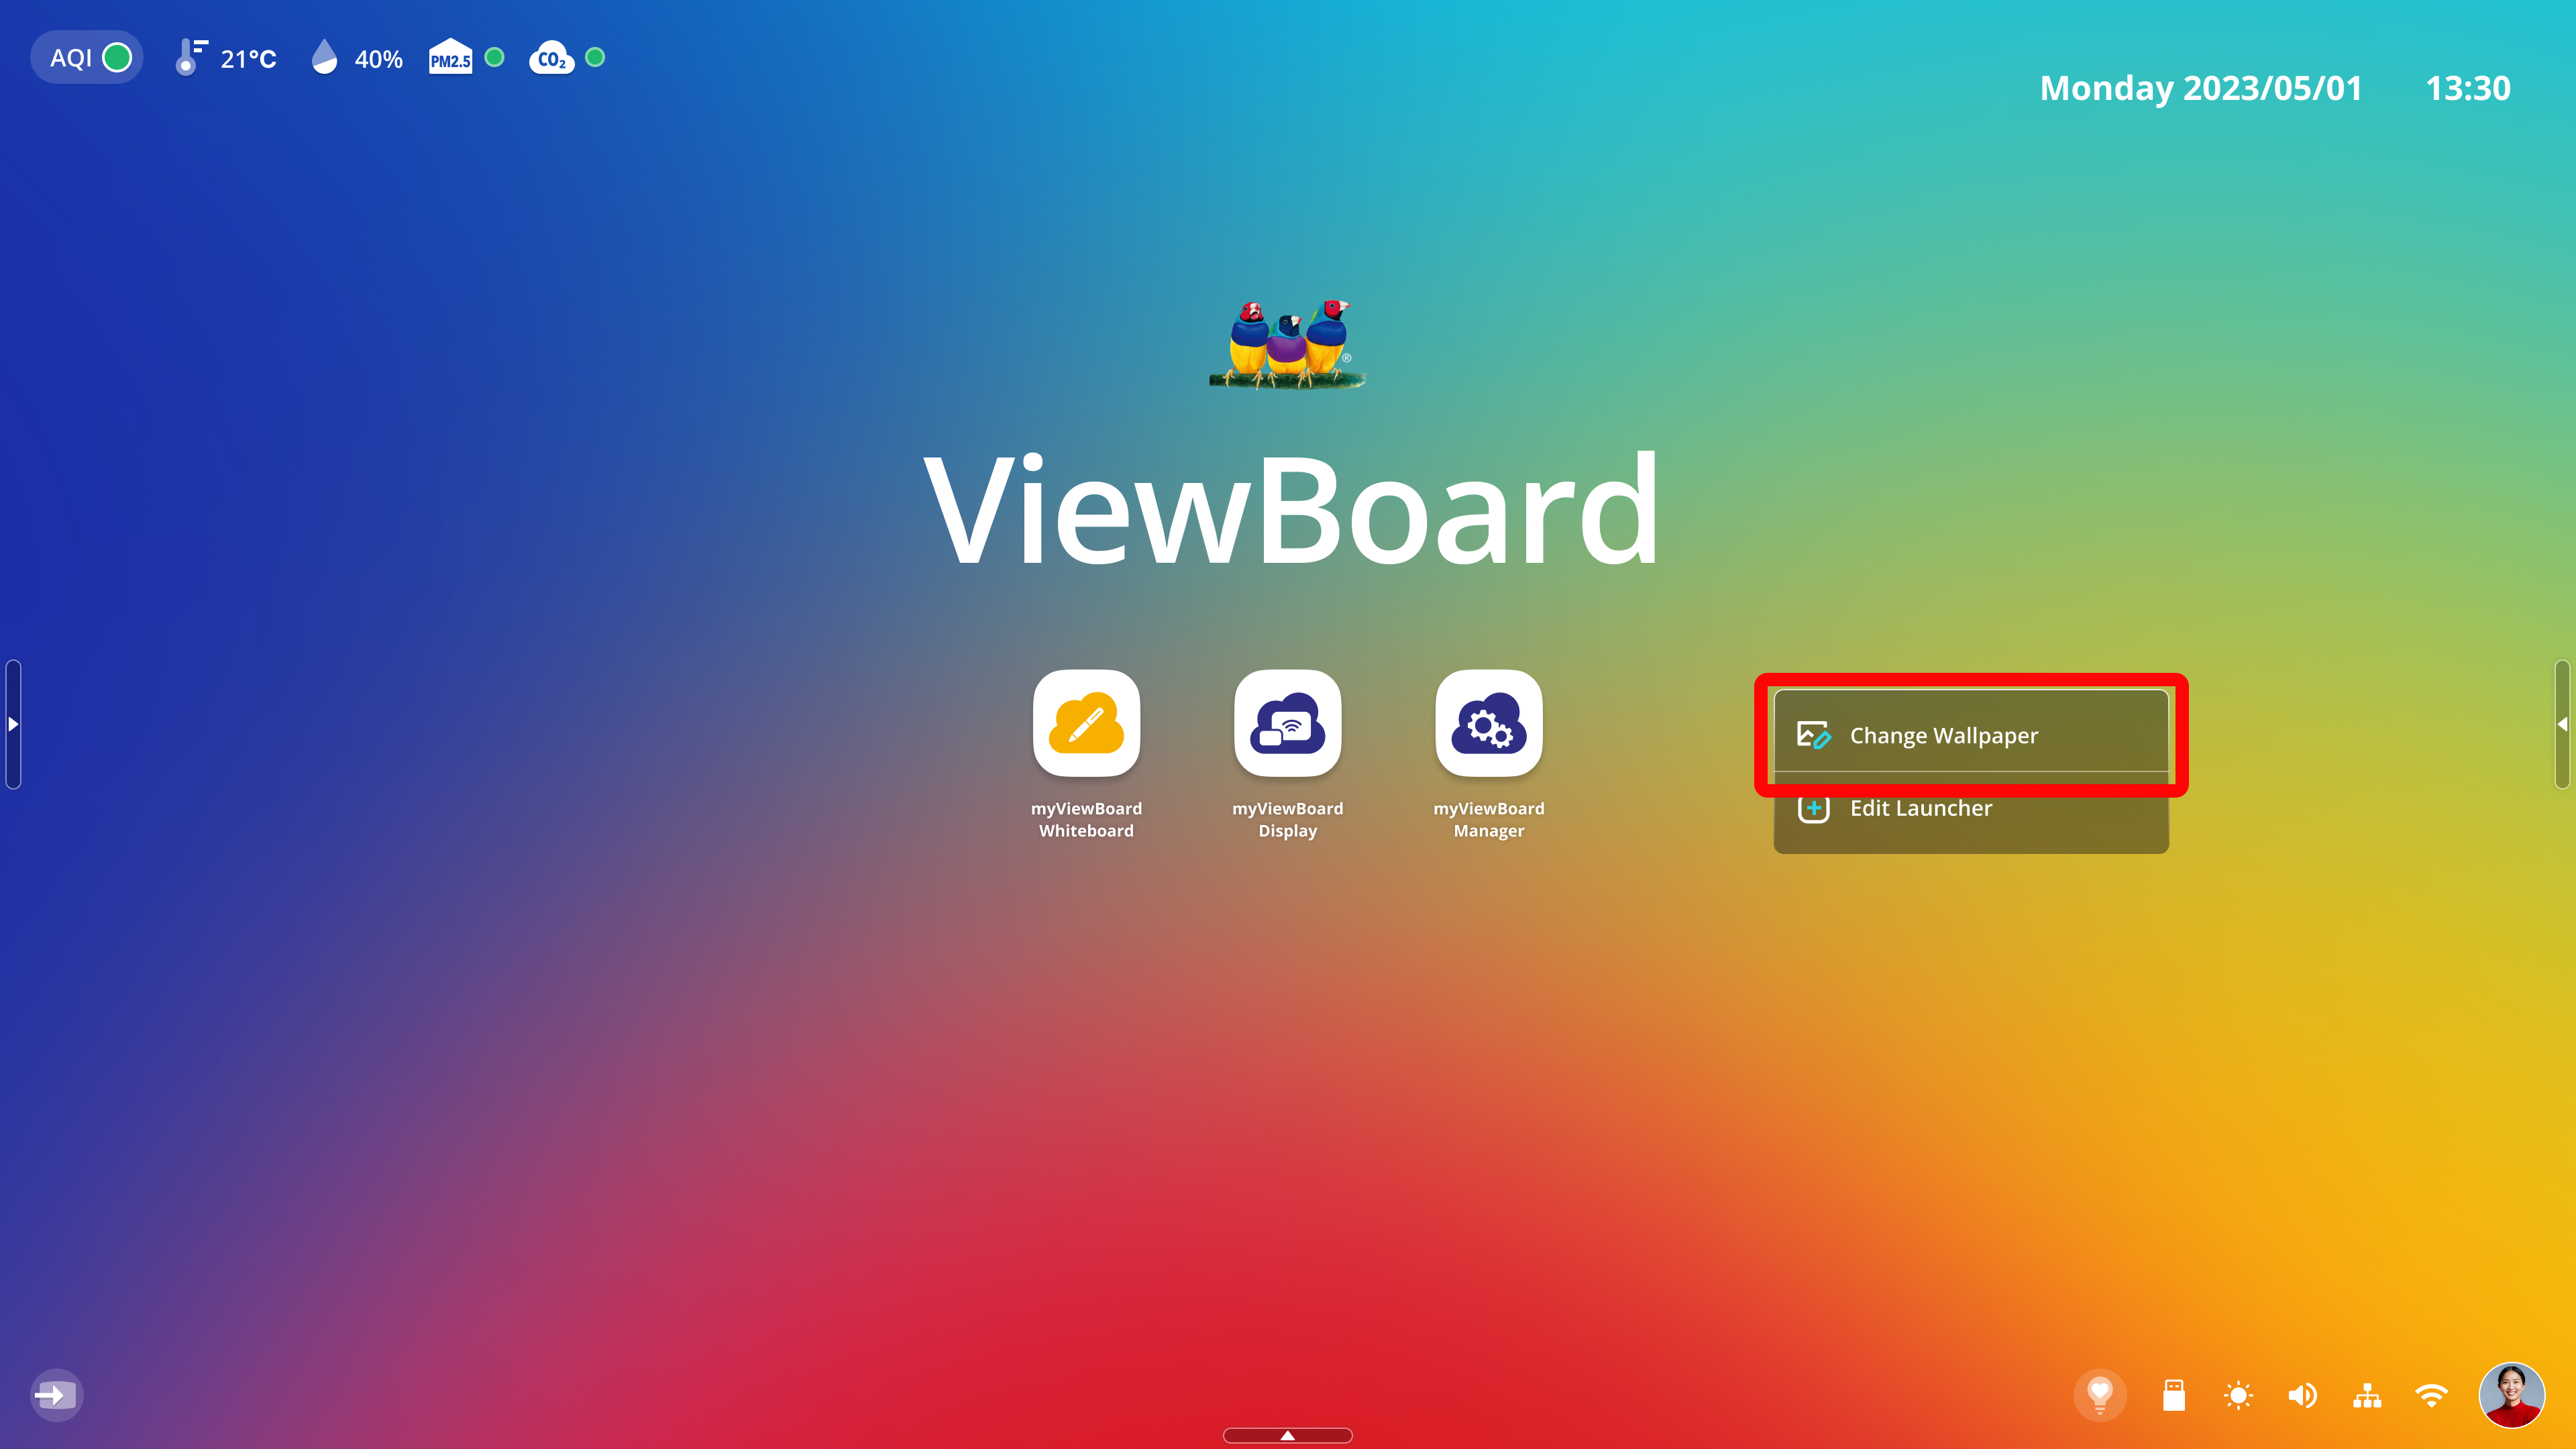 Change Wallpaper button highlighted in home screen menu.
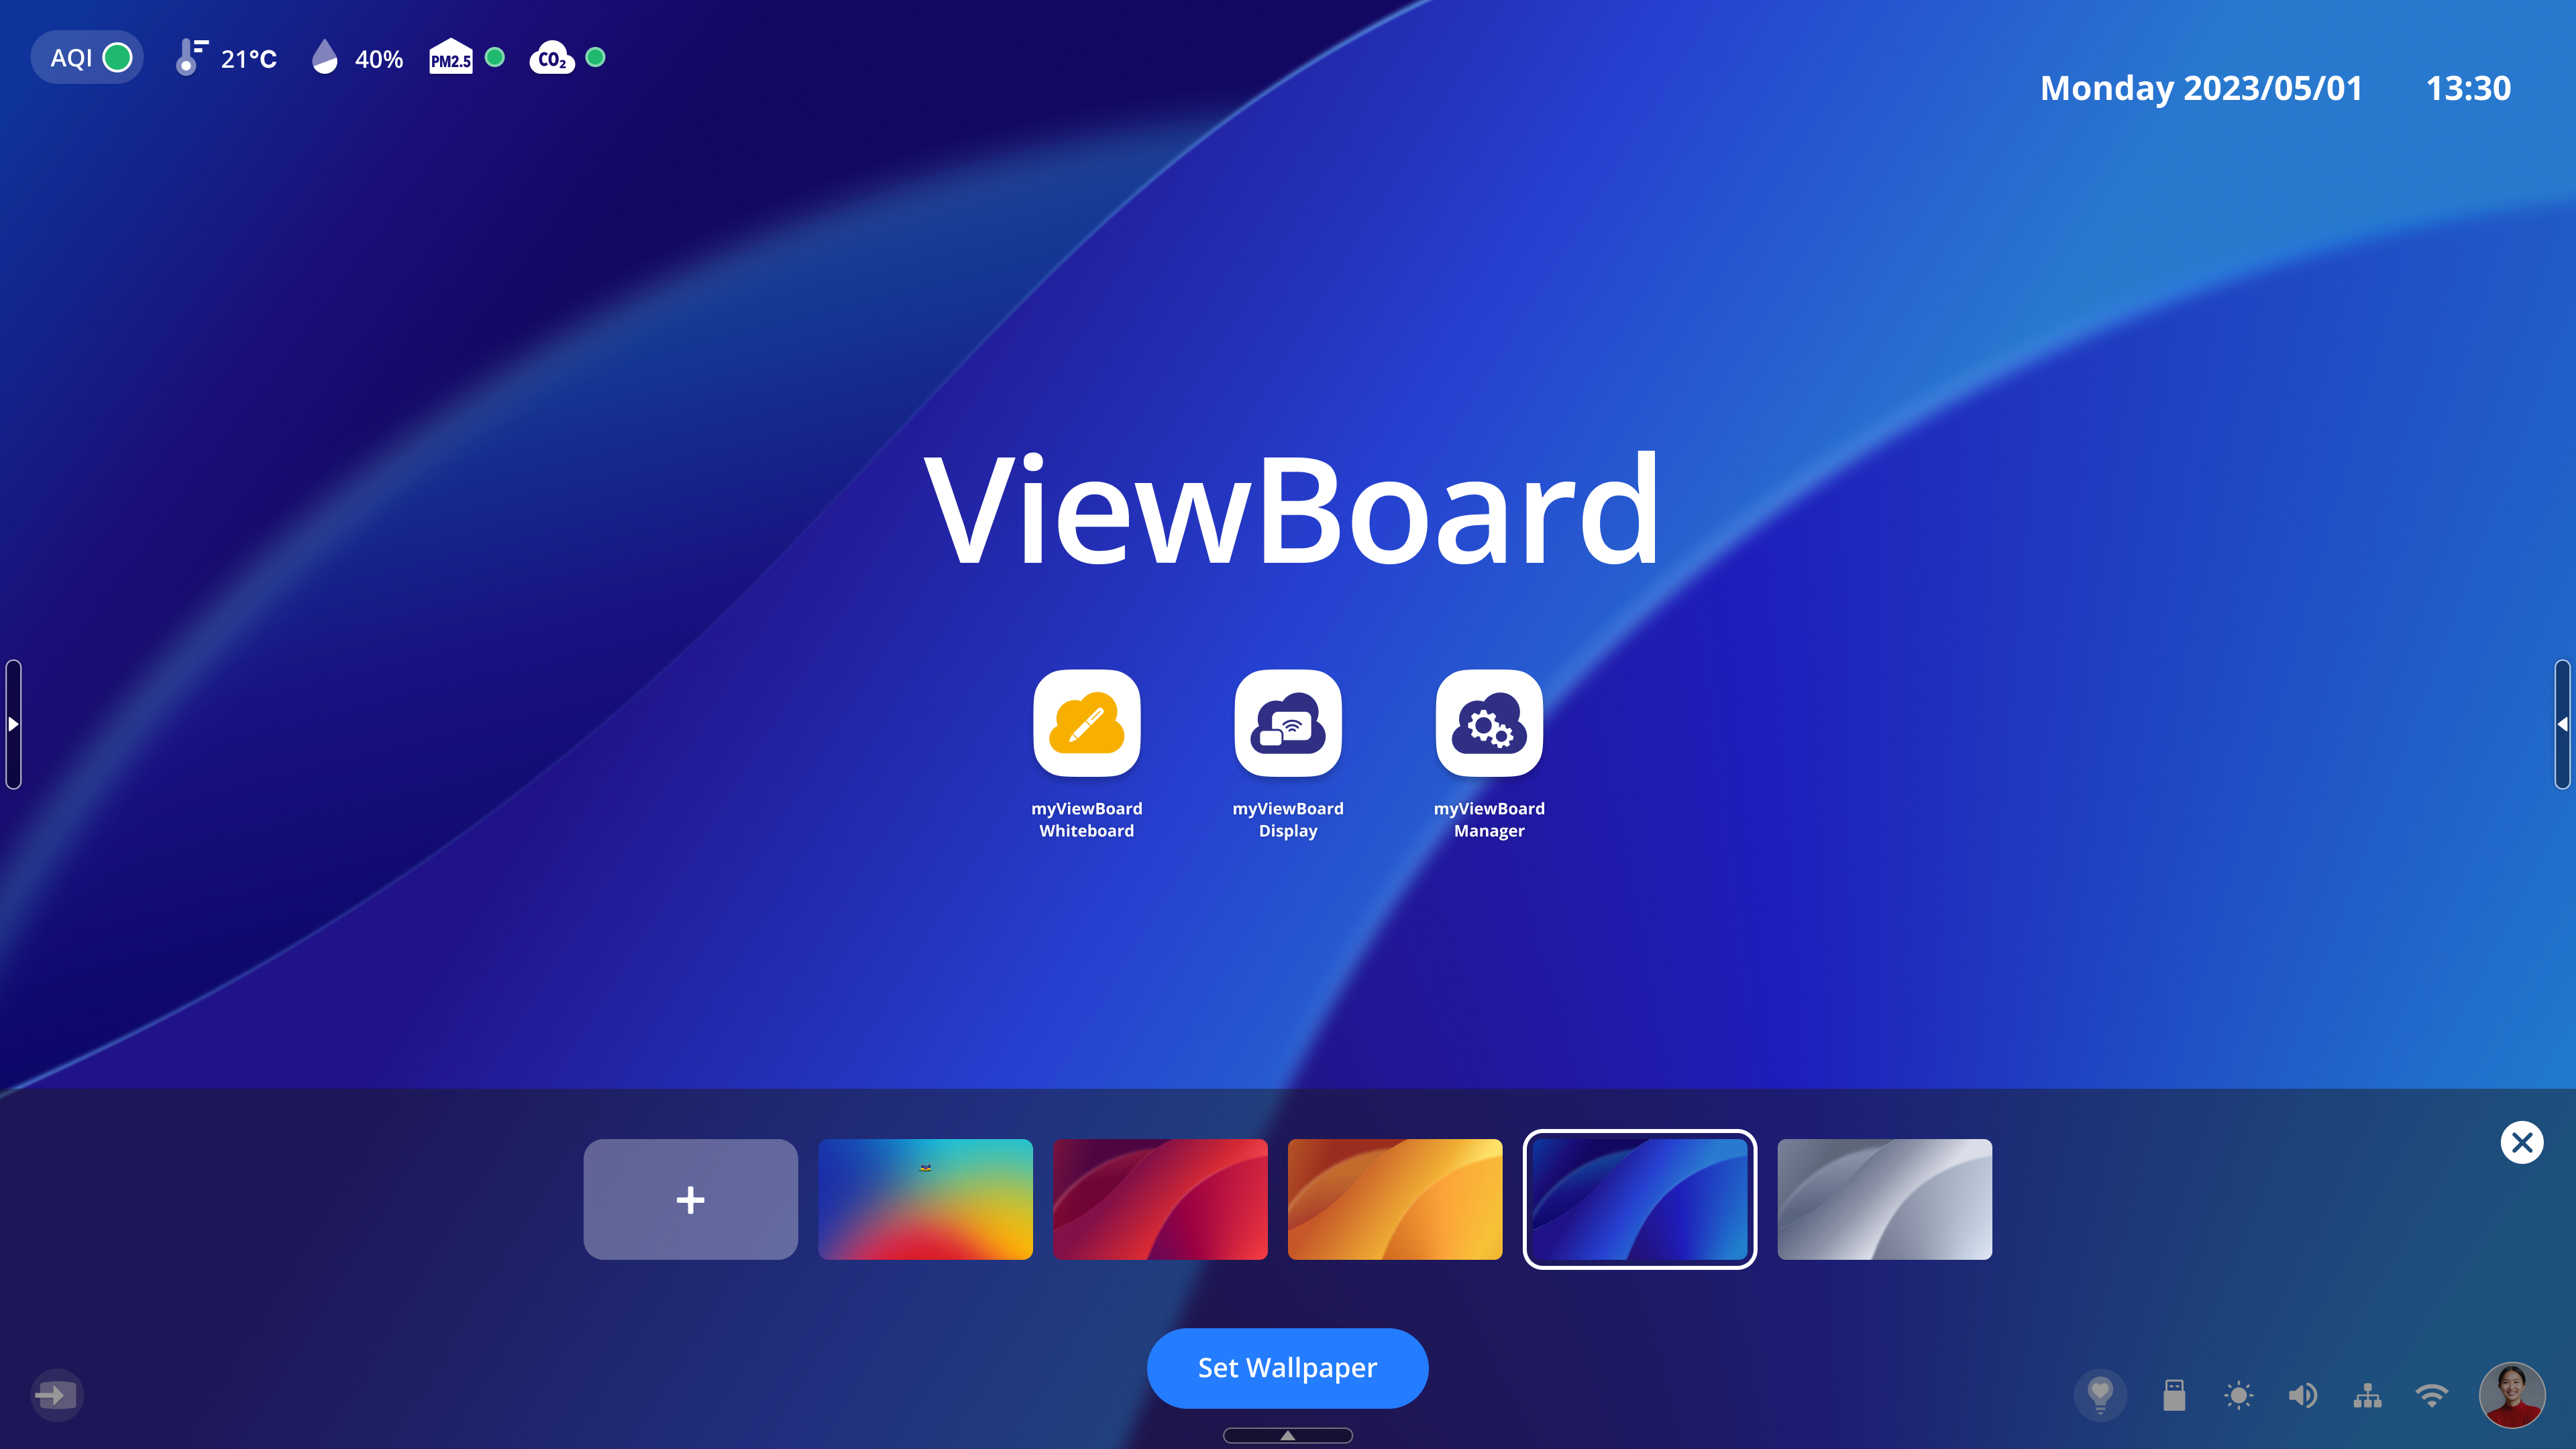 User has selected another wallpaper and it has been applied as a preview. Set Wallpaper button appears at the bottom-center.
You can also change wallpapers from Settings. Learn more.
Quick Settings menu
To access a Quick Settings menu, which includes input source options and display/audio settings, press the input source  button at the bottom-left of the screen, or press the input source icon
  in the side toolbar.
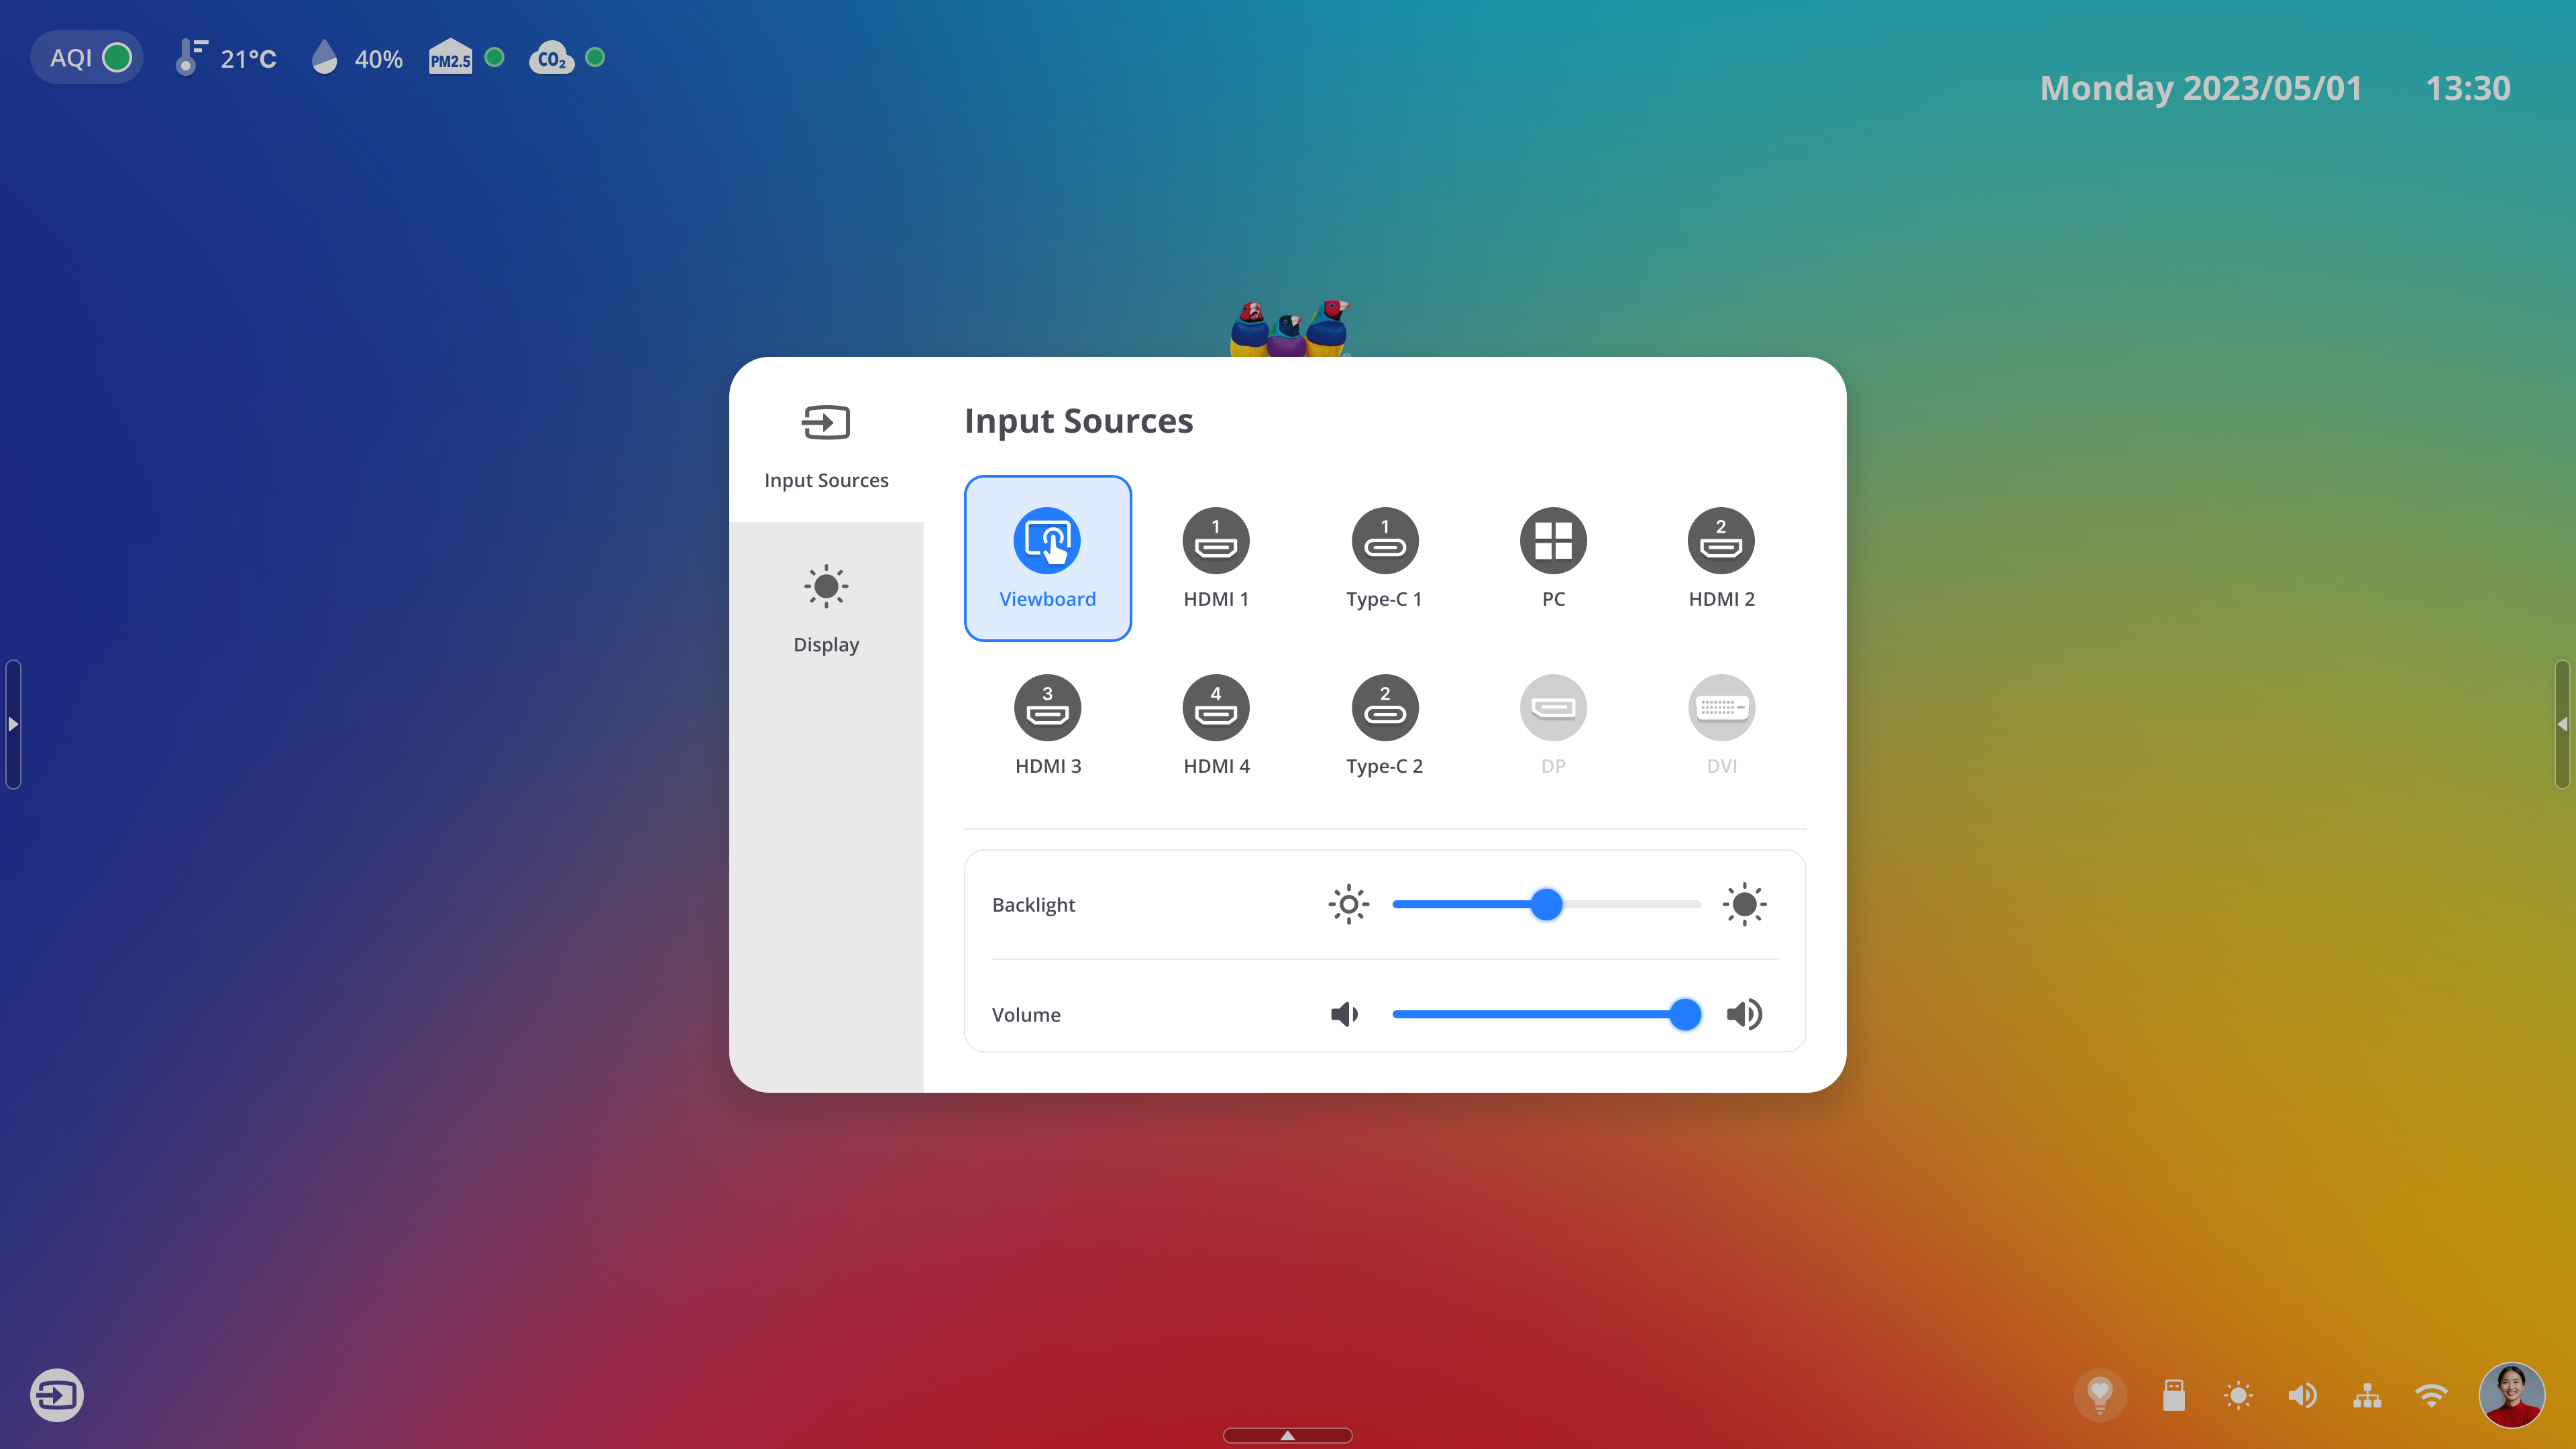 Quick Settings open with input tab selected, overlaying the home screen.
To learn more about the Quick Settings menu options, view the Quick Settings article.